Doors are an essential element of every home or office, providing security, privacy, and aesthetic appeal. Whether you’re building a new structure or replacing an old, damaged door, professional door installation is a task that requires precision and expertise. Unlike minor repair jobs, door installation requires careful planning and execution. This comprehensive guide will walk you through the entire process, ensuring your door is perfectly aligned, functional, and durable. If you’ve been facing issues with an old door, this guide will also highlight the basics of door repair before transitioning to installation.
Why Choose Professional Door Installation?
When it comes to something as pivotal as a door, professional installation ensures quality results. Doors are subjected to constant use, weather changes, and wear, making them prone to issues like misalignment, squeaky hinges, or cracks. While door repair might be a temporary fix for some issues, installing a new door often provides a long-term solution. Professionals are equipped with the right tools, expertise, and experience to handle every aspect of door installation, minimizing errors and saving you from future headaches.
Tools and Materials You’ll Need
Before jumping into the installation process, you need to ensure you have the right tools and materials for the job. Here’s a basic checklist:
-
- The new door you’re installing and the corresponding hinges, screws, and hardware.
-
- A measuring tape for accurate dimensions.
-
- A level to ensure alignment.
-
- A drill, screwdriver, and hammer for securing components.
-
- Shims for leveling the door frame.
-
- Sealant or weatherstripping for proper insulation.
-
- A saw for trimming, if necessary.
Having these items ready will streamline the process and help you avoid unnecessary delays. Proper preparation also applies to door repair, as having the right tools ensures successful fixes.
Step 1 – Measure the Door Frame
The first step in door installation is measuring the door frame to ensure the new door fits perfectly. Begin by measuring the height, width, and depth of the existing door frame. Be sure to account for any irregularities, as door frames can warp over time. Accurate measurements are crucial because an ill-fitting door will not only impact functionality but could also lead to aesthetic issues.
If you’ve recently undertaken door repair, double-check the frame to ensure it isn’t out of alignment. Any inconsistencies in the frame should be rectified before proceeding with the installation. This ensures the new door fits snugly and operates smoothly.
Step 2 – Remove the Old Door and Frame (if necessary)
If you’re replacing an old door, the next step is carefully removing it from the hinges. Use a screwdriver or drill to detach the hinges and gently lift the door from its frame. Be cautious to avoid damaging the surrounding structure, especially if you’ve had prior renovations or door repair in that area.
Once the door is removed, inspect the frame for any damage or wear. Replace any components that are beyond repair, such as warped wood or stripped screws. Properly preparing the frame is crucial for a successful door installation, as it ensures the new door will sit securely and function as intended.
Step 3 – Fit the New Door
Now comes the most critical part of the process—fitting the new door. Position the door in the frame to check its measurements against the opening. This is where shims come into play, allowing you to adjust the door’s position until it sits perfectly level. Use a level tool to ensure the door is aligned both vertically and horizontally.
Once the door is properly aligned, mark the positions for hinges and drill pilot holes for the screws. Doing this ensures a sturdy attachment that will withstand frequent use. Unlike door repair, where you focus on fixing specific issues, installation requires creating an entirely new setup. Take extra care during this step to achieve optimal results.
Step 4 – Attach Hinges and Hardware
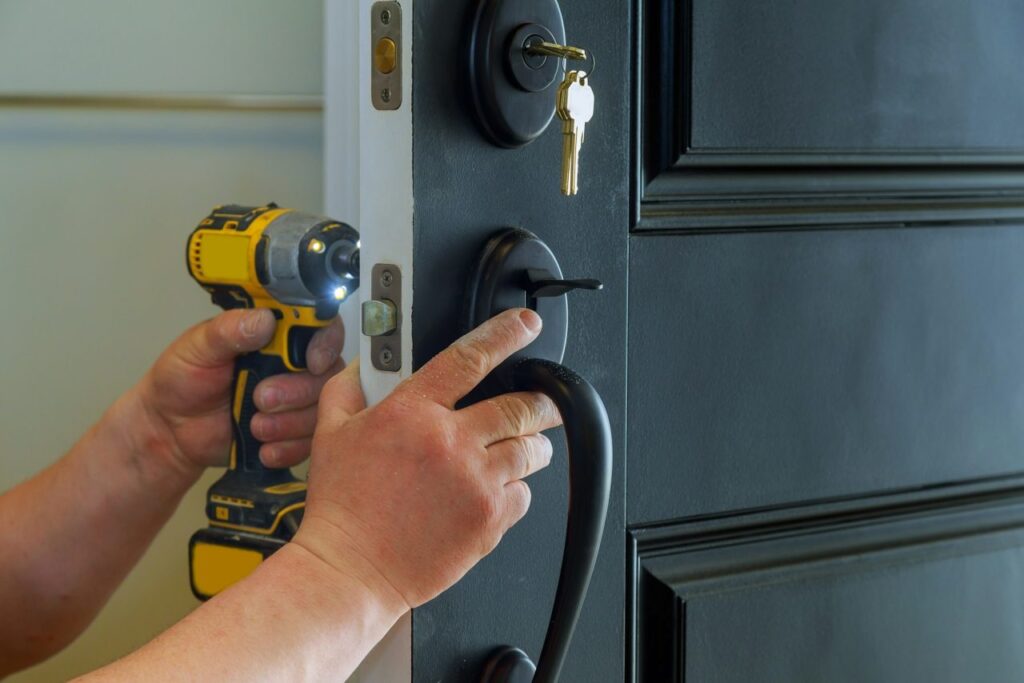
With the door correctly positioned, it’s time to attach the hinges and install the hardware. Secure the hinges to both the door and the frame using a drill and screws. Be sure to tighten everything securely, as loose hinges can cause the door to sag over time, leading to the need for door repair down the road.
Next, install the handle, lockset, or any additional hardware you’ve chosen for your door. Follow the manufacturer’s instructions for precise installation. Choosing high-quality hardware is crucial to enhancing the durability and security of your door installation.
Step 5 – Test the Door
Once everything is secure, it’s time to test your newly installed door. Open and close it several times to ensure it operates smoothly without sticking or scraping. Check the alignment of the door in the frame and make any necessary adjustments. Finally, evaluate the sealing to ensure proper insulation, particularly if the door is an exterior one.
If you encounter any minor issues during this stage, such as sticking or uneven spacing, address them immediately. While these problems might seem minor, they can escalate into larger issues requiring door repair if left unattended. A properly tested and adjusted door ensures satisfaction with your door installation project.
Maintaining Your Door After Installation
Proper maintenance is key to prolonging the lifespan of your door and preventing the need for frequent door repairs. Regularly clean the door and its hardware to prevent dust and grime buildup. Lubricate the hinges periodically to keep them functioning smoothly. Inspect the sealing and weatherstripping to maintain good insulation, especially for exterior doors.
Additionally, check for signs of wear or damage, such as cracks in the wood or loose components. Addressing these concerns promptly can save you from more extensive door repair or even the need for a new door installation in the future.
When to Call in Professionals
While this guide provides a thorough overview of the door installation process, there are instances where hiring professionals is the best option. If your project involves customizing a frame, dealing with structural issues, or installing heavy or complex doors, a trained expert can deliver the best results. Furthermore, professionals come equipped with specialized tools and skills, ensuring a seamless installation that lasts.
Homeowners are often tempted to attempt door repair or installation themselves to save money, but improper techniques can lead to costly errors. Hiring professionals eliminates this risk and guarantees quality workmanship.
Conclusion
Whether you need to replace an old door or undertake a full-fledged door installation project, following a step-by-step plan ensures success. From preparing the frame to testing the final fit, each stage is crucial to achieving a functional and aesthetically pleasing result. While DIY efforts are commendable, professional expertise can make all the difference in ensuring your door stands the test of time.
If you’re ready to take the first step toward a secure, beautiful, and well-functioning door, don’t hesitate to call or contact us today. Our team specializes in both door repair and installation, delivering top-notch craftsmanship tailored to your needs. Reach out now to get started on your project!